Three years ago, we decided to construct a new house. As I tend to be quite keen on technology, I really wanted to have some level of home automation in our new place. I did an extended research on the available options for home automation. I opted for Loxone Smart Home and I’m really happy with it! What I really love about it, is the fact that it is very extensible. It requires no programming at all and it comes with a highly configurable mobile app.
My Loxone Setup
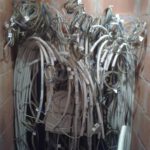
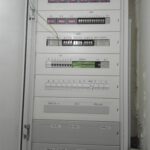
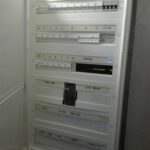
I didn’t had any experience with electric installations, but Google is your friend! In the beginning, it looked all quite messy and chaotic, but in the end, all wiring went fine and everything functions as it should.
From a technical perspective, these are the Loxone components I’ve used:
This setup is rather limited, because I’ve extended Loxone with some other components. In this way, I was able to have all capabilities I was looking for, within an affordable budget. These are the two cost-efficient solutions I’ve implemented:
Cheap inputs
In home automation solutions, you need a lot of input signals. Most of them originate from switches, but also presence detectors, motion sensors, push buttons, window sensors, rain sensors… require input signals. In my case I needed around 100 inputs, which means many Loxone extensions, so I would end up with an expensive setup.
After some good advice that I received on several forums, I decided to buy the Elexol Ether IO72 TCP component. This component can handle 72 low voltage input signals. Each 50ms, the state of the inputs (0/1) is sent through UDP, in a binary format, to the Loxone miniserver. The miniserver decodes the incoming binary data and determines which switches or inputs are active. A very simple and cheap solution, without any notable latency. You can find the complete setup here.
Cheap outputs
Incoming events should result in automated actions, so a lot of outputs are required. Some examples: lights, blinds, irrigation, valves, wall sockets, ventilation… These outputs are mostly limited to switching on/off the right voltage signals. Because I have foreseen a huge number of lights, I needed a way to limit the price. The solution was to leverage the Loxone DMX extension. DMX is a protocol that is often used to control stage lighting and effects. By using cheap, but kickass DMX dimmers, DMX relays and DMX LED controllers, I saved a lot of money.
Conclusion
I would recommend Loxone to everyone who’s looking for a mature and modern home automation system, that allows to be extended through some DIY connections.


