API Security with ASP.NET Core 5.0 and Azure AD for Dummies
This blog is part of a complete blog series.
- Part 1: Authentication vs authorization
- Part 2: The different actors (this blog)
- Part 3: Authentication with Azure AD
- Part 4: Authorization with Access Control List
- Part 5: Authorization with Application Roles
- Part 6: Authorization with Delegated Permissions
- Part 7: Retrieve more user information
- Part 8: Access APIs on behalf of a user (coming soon)
- Part 9: Automate the Azure AD configuration (coming soon
API security metaphor
To simplify the complex matter of API security, I would like to introduce a metaphor. Consider a party that gets organized. There are some actors involved:
- Visitor: a person that wants to access the party.
- Crew: a supplier that needs to access the party.
- Ticket desk: is responsible to validate the identity of the people
- Bodyguard: is responsible to decide who can enter the party

If we compare this with API security, we can translate this into these technical actors:
- Application with user interaction: the app wants to access the API on behalf of the user
- Daemon or service: the application wants to access the API (without a user involved)
- Azure AD: the identity and access management service
- Access control: the API component that decides who can access the API

Azure AD configuration
Each of these actors need to be defined in Azure AD. Let have a look.
Register the API
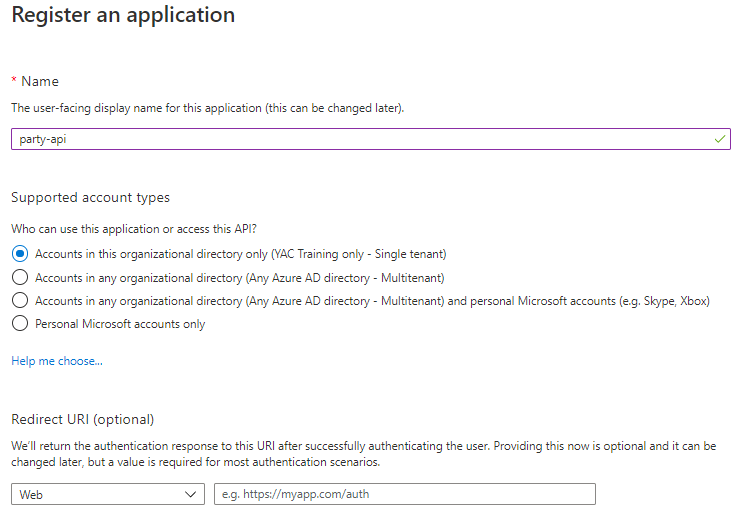
- Create a new App Registration in Azure AD and click Register
- Name: party-api
- Account Type: single tenant
- Redirect URI: none

- In the Manifest tab, change the accessTokenAcceptedVersion to 2 and click Save. This ensures we are using the latest version.

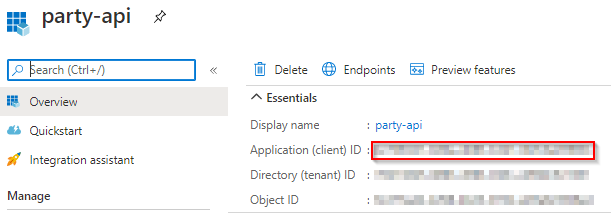
- Copy the client id from the Overview tab, you will need it later.

Now we have created a representation of our API in Azure AD. The actual implementation of this API will be covered in the next topic.
Register the Daemon App
- Create a new App Registration in Azure AD and click Register
- Name: daemon-client-app
- Account Type: single tenant
- Redirect URI: none

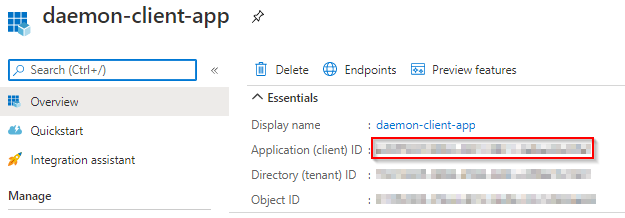
- Copy the client id from the Overview tab, you will need it later.

Now we have created a representation of the Daemon App in Azure AD. The actual implementation of this application is out of scope for this blog series. Postman will be used to simulate it.
Register the User App
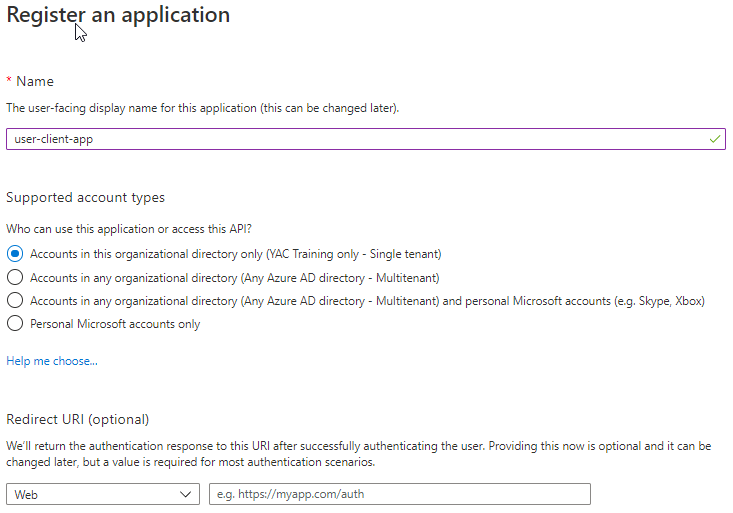
- Create a new App Registration in Azure AD and click Register
- Name: user-client-app
- Account Type: single tenant
- Redirect URI: none

- Copy the client id from the Overview tab, you will need it later.

Now we have created a representation of the User App in Azure AD. The actual implementation of this application is out of scope for this blog series. Postman will be used to simulate it.
Create the Party API
The API that we will use for this blog series can be found on my GitHub.
- Clone the repository
git clone https://github.com/your-azure-coach/azure-ad-api-security.git
- Open the solution inside the starterfiles
src\01-starter-files\PartyApi.sln
- Build and run the API
- Test one of the API operations to get into the different party areas

Conclusion
In this part, we discussed the different actors and registered them in Azure AD. The Party API is up and running, but without any security applied. This will be discussed in the next parts.


